


Staggering drywall joints prevents cracks by spreading structural stress across the surface. Aligned seams concentrate tension and moisture, while offset seams distribute movement evenly.
TRUSUS system insight: staggered joints transform drywall from individual panels into one stable membrane.
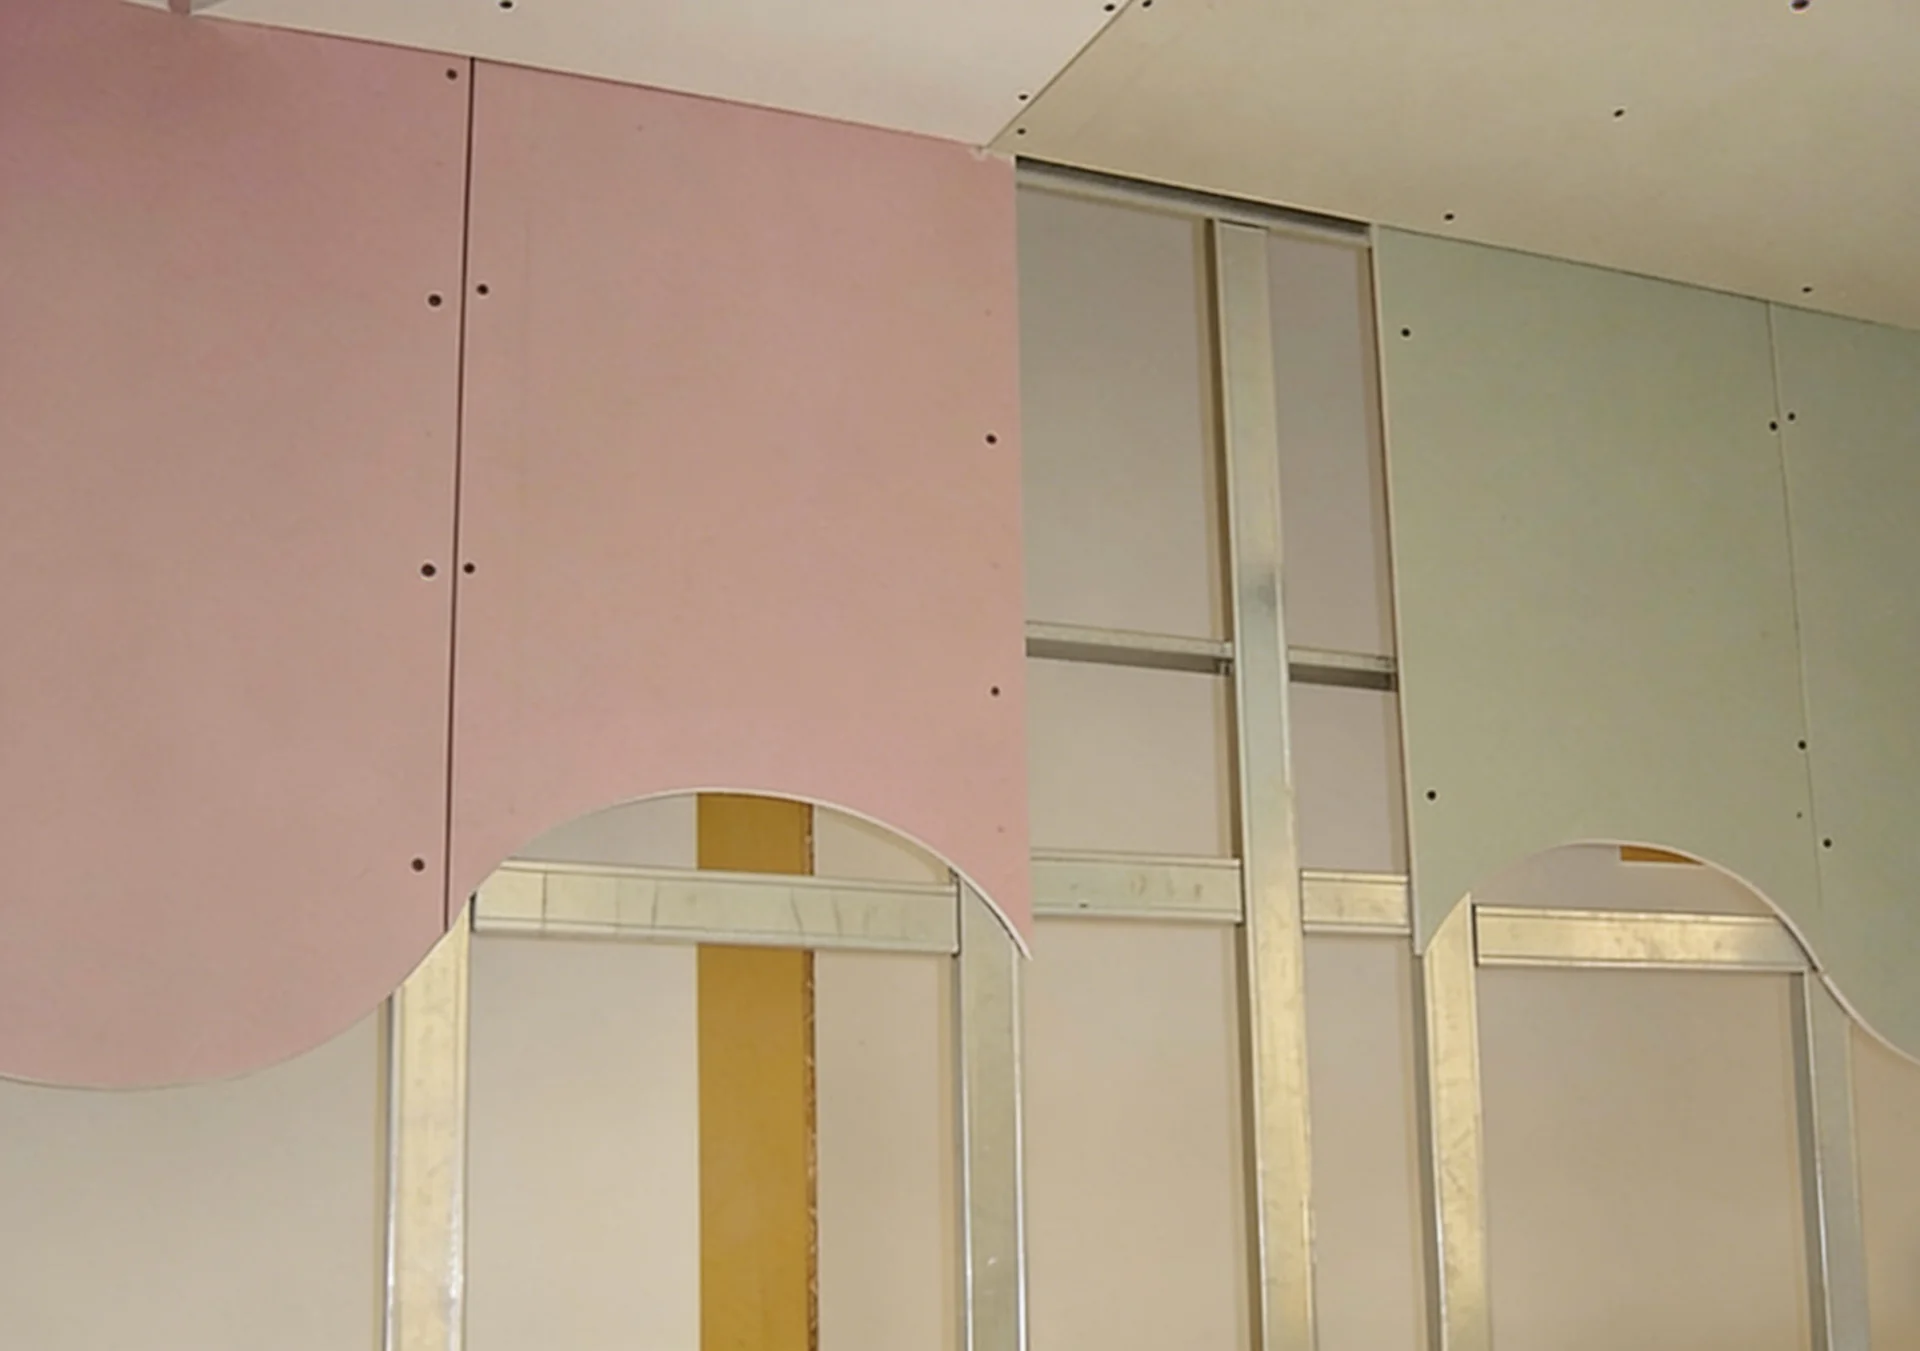
It’s not just a layout choice—it’s a micro‑structural design. Staggering disrupts straight stress lines that form along continuous seams. By breaking these paths, drywall adapts better to humidity, vibration, and temperature change. Cracks are minimized, and finishes last longer without visible deformation.
Why Should Plasterboard Joints Be Staggered?
Plasterboard joints should be staggered to avoid continuous weak lines that invite cracking. Staggering improves wall resistance and keeps finishes smooth indefinitely.
TRUSUS wall insight: offset lines, steady structure.
Stress Management Table
| Alignment Type | Stress Behavior | Risk of Crack | Finish Durability |
|---|---|---|---|
| Continuous joint | Linear stress concentration | High | Poor |
| Staggered joint | Stress distributed diagonally | Low | Long‑term stability |
On a hotel partition project I supported, staggered plasterboard joints prevented visible cracks even after heavy use. Where workers accidentally aligned seams, vertical fissures appeared. That small geometry choice doubled wall performance.
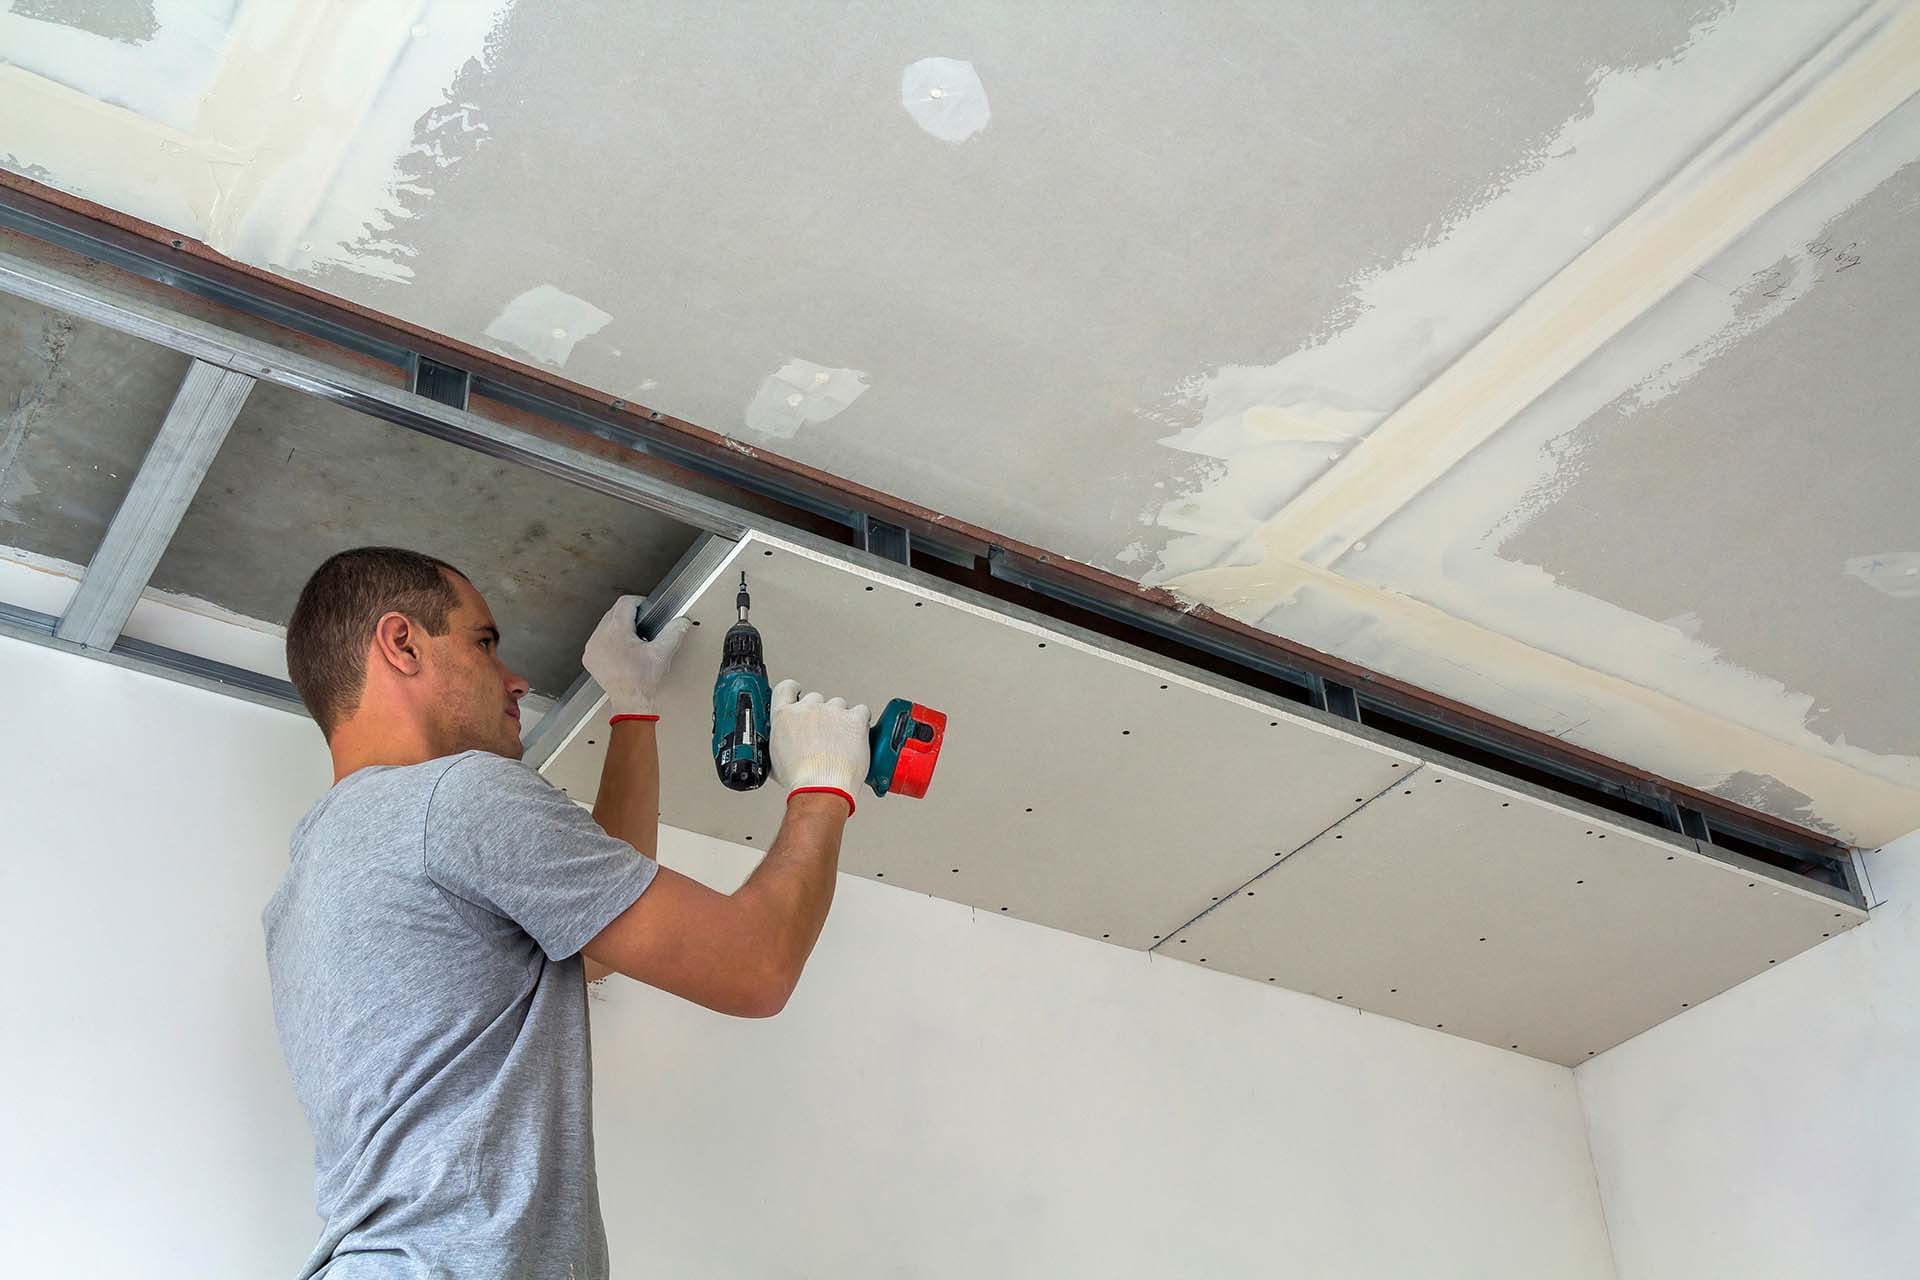
Does Ceiling Drywall Need to Be Staggered?
Yes. Ceiling drywall should always be staggered to prevent cracking from structural deflection. The suspended frame flexes slightly under temperature and weight changes.
TRUSUS ceiling insight: a staggered ceiling is flexible strength, not fragile decoration.
Ceiling Stability Grid
| Ceiling Frame | Joint Pattern | Result |
|---|---|---|
| Parallel alignment | Continuous stress corridor | Visible joint cracks |
| Staggered pattern | Broken stress continuity | Even appearance |
| Reinforced design | Staggered + double board | Maximum endurance |
I once visited a completed office with perfectly straight ceiling seams. After a few months, humidity revealed every joint in shadow lines across the paint. The spaces with staggered layout stayed flawless—proof of system thinking.
How to Stagger Drywall Joints?
Place each sheet so seams on one row fall between seams of the row below. Maintain at least one stud offset (around 400–600 mm) between adjacent seams.
TRUSUS installation insight: staggering is geometry serving long‑term performance.

Staggering Procedure
| Step | Action | Purpose |
|---|---|---|
| 1 | Start first row full‑length | Establish baseline alignment |
| 2 | Cut next row half‑length | Create offset seam pattern |
| 3 | Ensure seams meet over framing studs | Secure mechanical support |
| 4 | Avoid four corners meeting | Eliminate weak intersection points |
| 5 | Apply joint compound evenly | Maintain surface uniformity |
Every time I teach installers, I say: you’re not placing boards; you’re designing stress paths. Staggering lays invisible geometry that safeguards the wall’s entire lifespan.
Conclusion
At TRUSUS, I see staggered joints as more than alignment—they’re the hidden skeleton of durability. They turn ordinary plasterboard surfaces into balanced structural systems that stay flat, stable, and beautiful over time.