


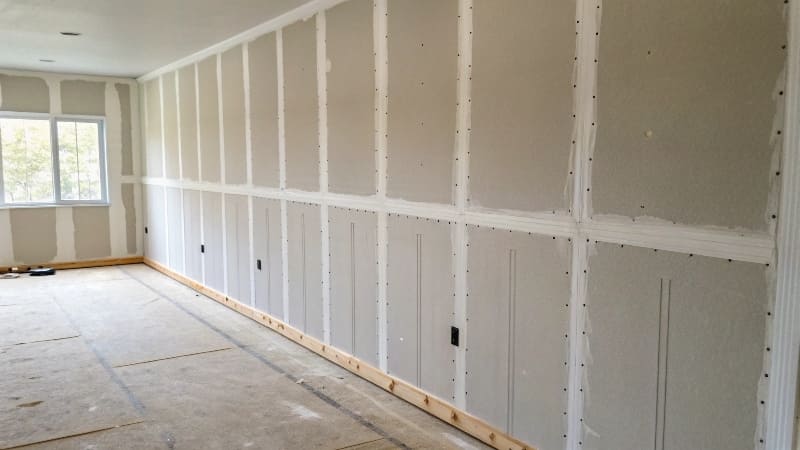
The most common drywall mudding mistakes are applying too much mud, skipping reinforcement tape, and poor sanding technique that leaves visible ridges after painting.
TRUSUS insight: smooth walls come from system awareness, not just hand skill.
Too much mud shrinks during drying and cracks. Unequal layering or missed tape weakens joints. Real quality comes from understanding material behavior in the entire drywall system.
What Is a Common Mistake People Make When Applying Mud to Drywall?
The main mistake is spreading mud too thick or unevenly across joints. Many skip the correct layering approach—joint fill, feathering, and final leveling—which causes drying cracks and uneven surfaces.
TRUSUS process insight: mud is a structural filler, not decoration—it must behave predictably.
Mud Application Phases
| Step | Operation | Purpose |
|---|---|---|
| 1 | First Fill | Cover joint and embed tape |
| 2 | Second Coat | Level joint surface |
| 3 | Third Coat | Feather edges for smooth transition |
| 4 | Sand and Finish | Remove ridges and dust |
Common Mistake Breakdown
| Mistake | Result | Preventive Method |
|---|---|---|
| Layer too thick | Cracking or blistering | Apply thin coats and dry between |
| No joint tape | Surface splitting | Always embed tape in first coat |
| Poor sanding | Uneven texture | Use light, circular sanding motion |
| Incorrect drying | Shrinkage or mold spots | Maintain consistent humidity control |
Mastery isn’t about how fast you mud—it’s about consistency and controlled layering.
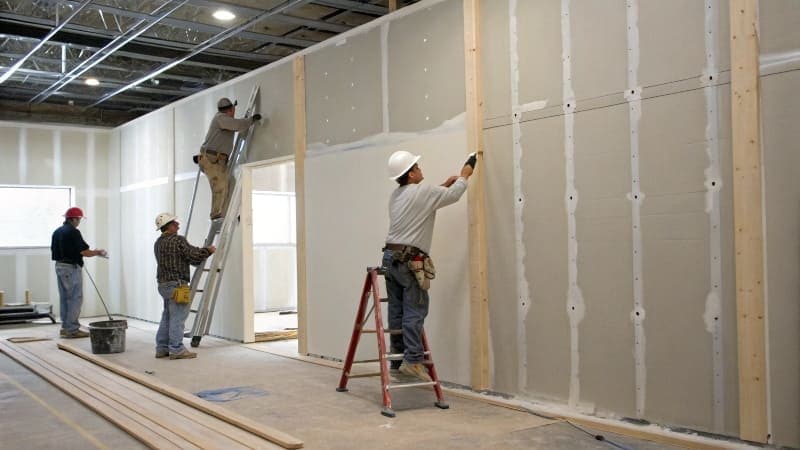
What Are the Mistakes for Drywall Installation?
Common drywall installation mistakes include tight panel fitting, uneven screw placement, and ignoring joint alignment. These errors affect not only appearance but also structural performance.
TRUSUS building insight: drywall works best as a system—not as divided tasks between cutting, mounting, and finishing.
Installation Mistake Table
| Mistake | Effect | Recommended Fix |
|---|---|---|
| Panels installed too tight | Buckling and stress cracks | Leave ⅛ inch gap between sheets |
| Misaligned edges | Uneven seams | Use factory edges whenever possible |
| Screws too deep | Paper breakage | Stop when screw head is just below surface |
| No staggered joints | Weak wall stability | Alternate seams in each row |
| Ignoring framing layout | Loose boards | Mark stud centers before mounting |
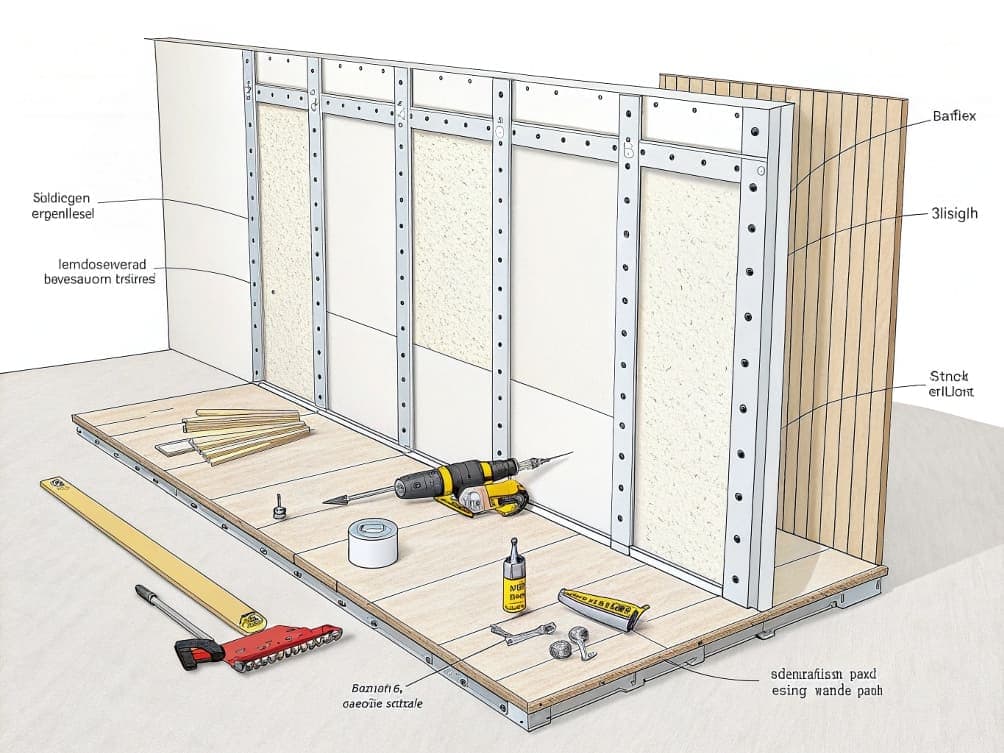
Drywall System Logic
Drywall is a precision system—boards, screws, tape, and mud are interdependent. Accuracy in one stage prevents errors cascading into finishing defects later. Every screw and joint defines surface durability and final paint quality.
What Are the Common Drywall Cutting Mistakes?
Cutting errors include improper measuring, tearing paper layer, rough edges, and ignoring marking alignment. Each mistake makes joint sealing harder and leads to misfitted seams.
TRUSUS precision insight: cutting drywall isn’t waste removal—it’s geometry management.
Cutting Accuracy Table
| Mistake | Effect | Correct Practice |
|---|---|---|
| Eye measurement only | Misalignment | Always mark with straight edge |
| Over-scoring paper | Weak edges | Cut once lightly with utility knife |
| Breaking without full cut | Ragged surface | Snap along line, then score back paper |
| Not checking joint fit | Gaps too wide | Dry-fit pieces before installation |
Geometric Reasoning
| Variable | Impact | Prevention |
|---|---|---|
| Cut angle | Joint gap width | Keep blade perpendicular |
| Panel stability | Crack risk | Support both ends while breaking |
| Edge uniformity | Seam aesthetic | Smooth edges with rasp before fixing |
Precision cutting ensures clean joints that hold mud evenly and stay crack-free over time.
Conclusion
Drywall perfection depends on systematic understanding—proper mud control, correct joint spacing, accurate screw depth, and clean cutting. At TRUSUS, we teach that flawless walls are not built by luck, but by following structural logic and respecting the materials’ own engineering rhythm.